
DIY Fluted Side Table From a Plain Round Base
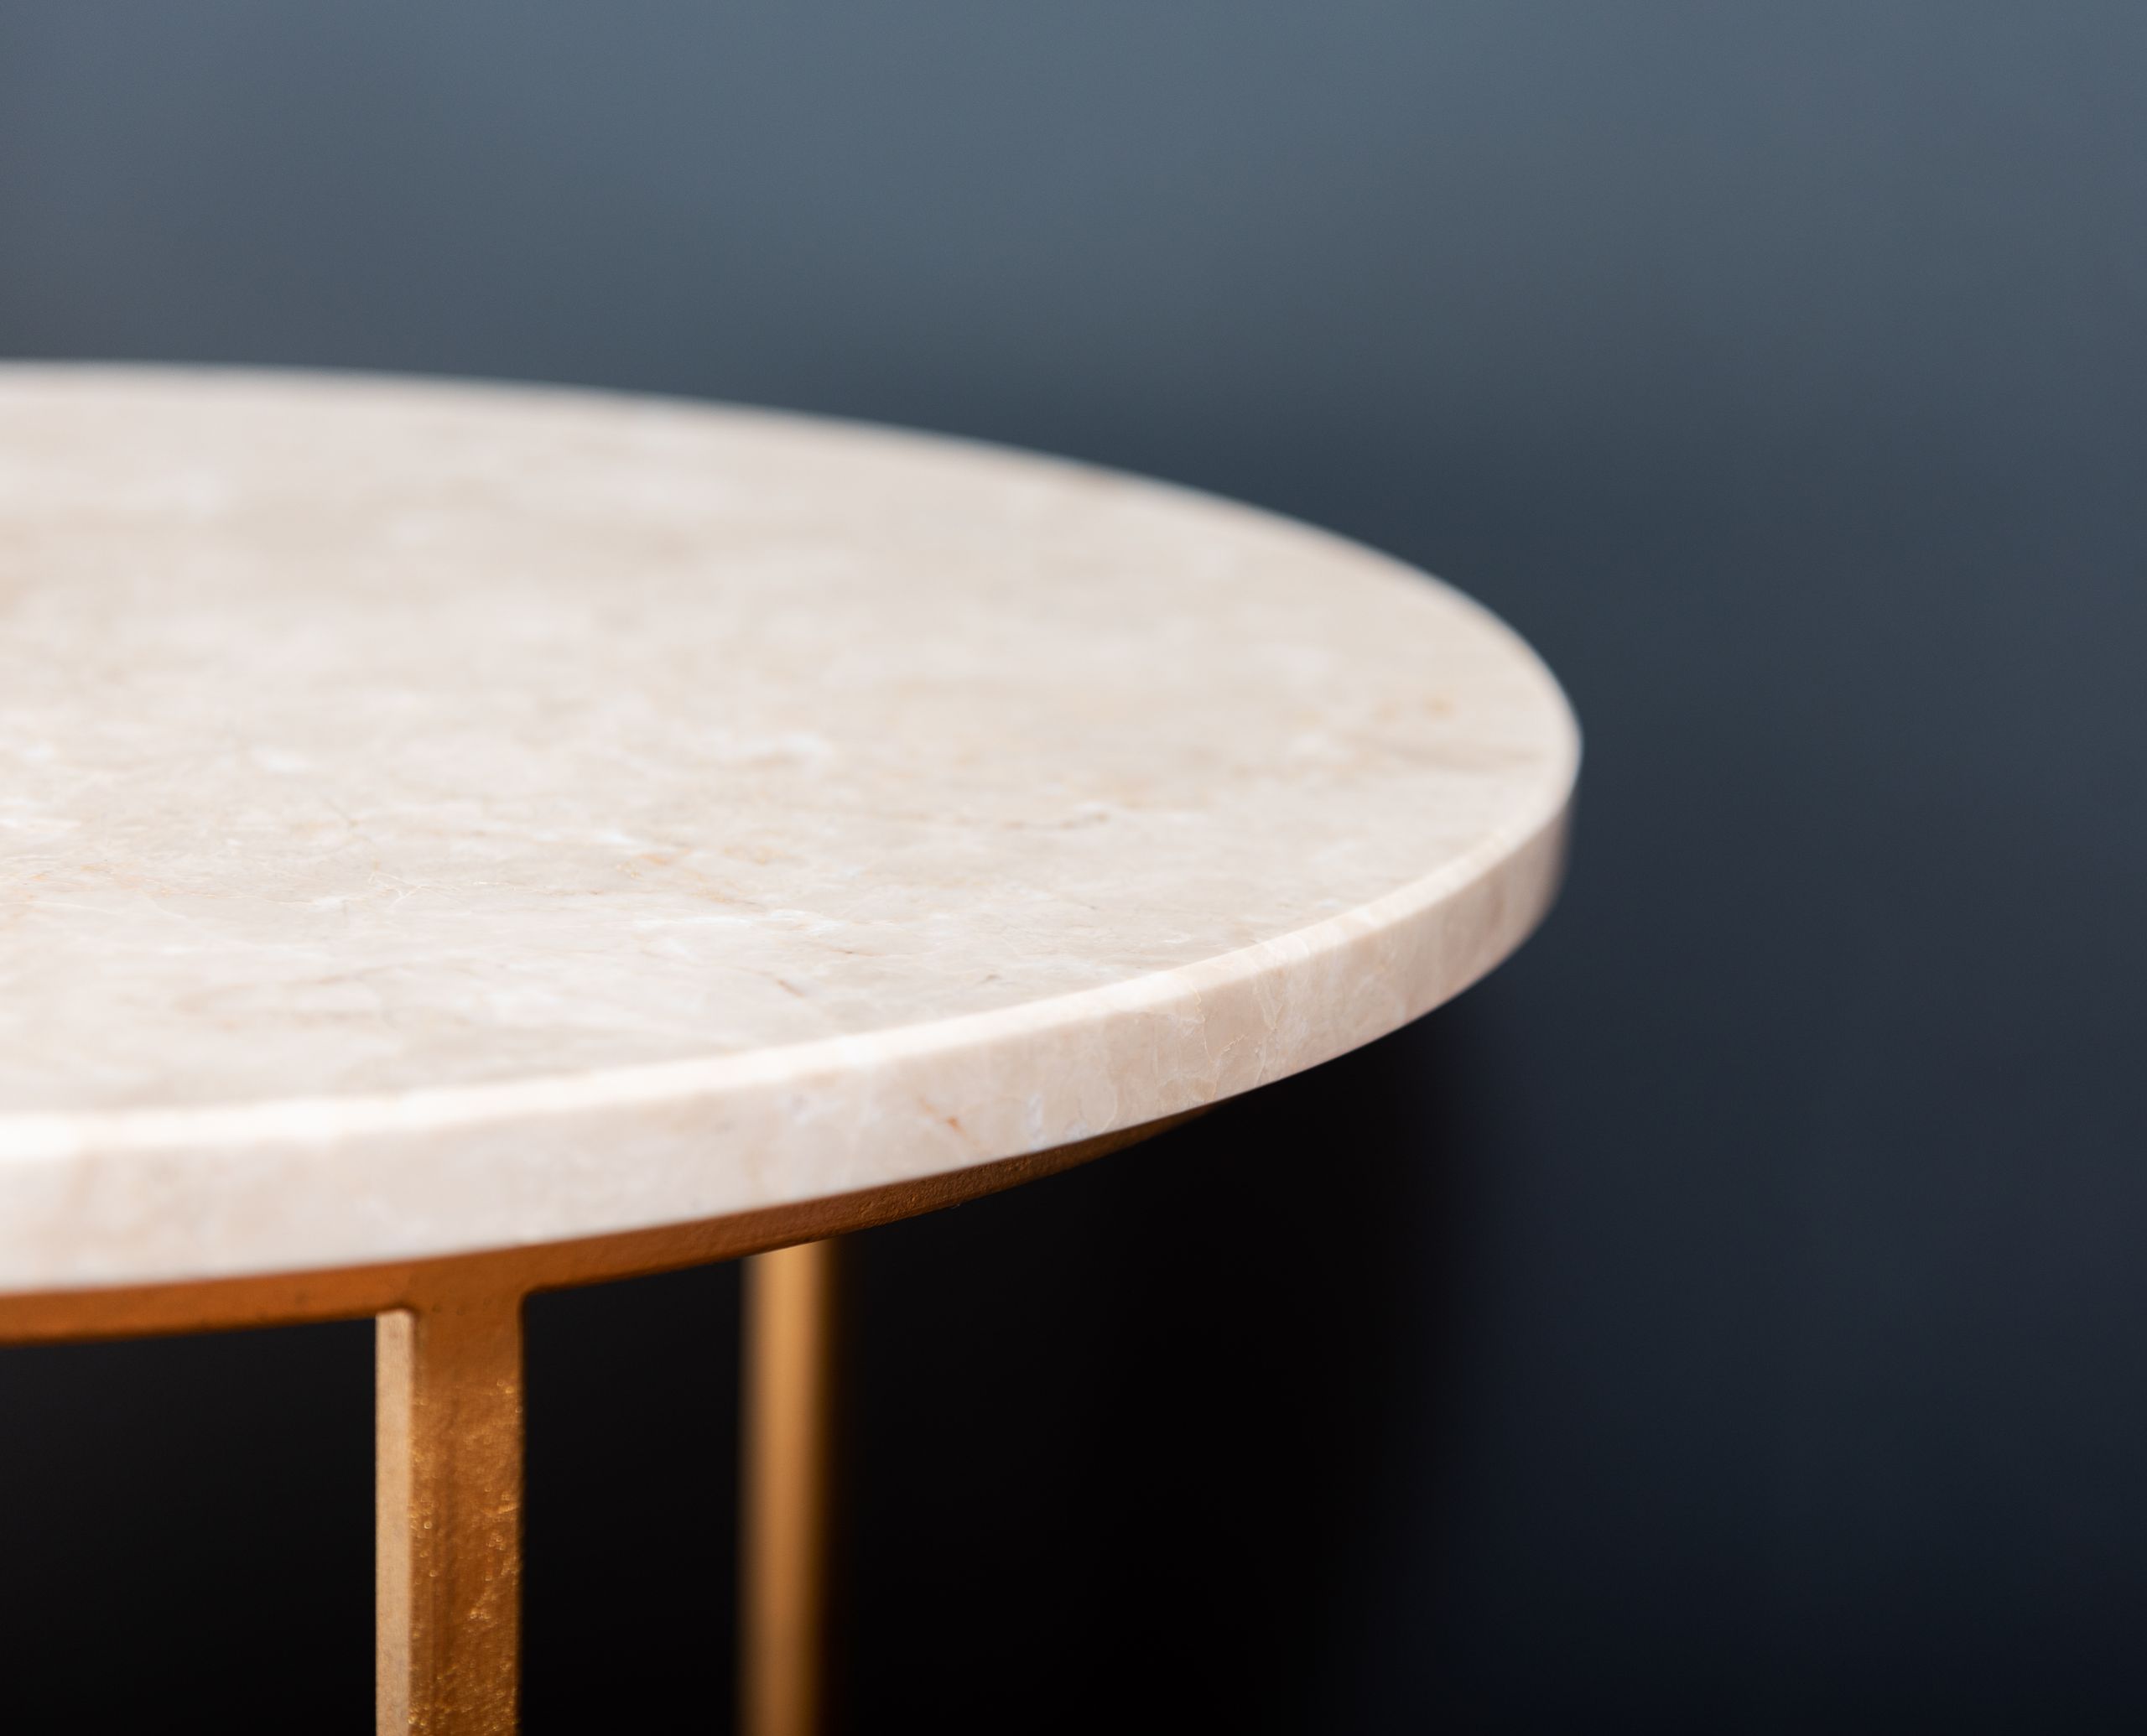
A fluted side table looks expensive, but you can make one at home from a plain round base and a few affordable materials. Fluting, those slim vertical ridges around the side, adds texture and style to a simple table. This project is beginner-friendly, does not need advanced woodworking skills, and can be finished in a weekend.
In this guide, you will learn how to choose a base, add fluting, and finish your table so it looks neat and lasts. Take your time, measure carefully, and enjoy the process. A handmade table is a lovely addition to a living room, bedroom, or reading corner.
What you will need
- A plain round side table, stool, or plant stand to use as a base
- Thin wooden dowels, half-round moulding, or thick rope for fluting
- Strong wood glue or a hot glue gun
- A measuring tape, pencil, and scissors or a small saw
- Sandpaper, 120 and 220 grit
- Painter’s tape
- Primer and paint, or wood stain and clear varnish
- A paintbrush or small foam roller
- A dust mask, safety glasses, and gloves
Choose a base that is sturdy and level. A second-hand table works well, as long as the top and legs are solid. If the base has a shiny finish, sand it lightly so the glue and paint stick better.
Step 1: Prepare the base
Clean the base with a damp cloth and let it dry. Remove any handles, stickers, or loose parts. If the surface is rough, sand it smooth with 120-grit sandpaper, then wipe away dust. If the table wobbles, tighten screws or add small felt pads under the legs.
Step 2: Plan the fluting
Measure the height and circumference of the base. Decide how wide each flute should be. Dowels placed close together create a fine, elegant look, while thicker moulding creates a bolder texture. Mark a starting line with painter’s tape so your first piece is straight. A straight first piece makes the rest of the project much easier.
Step 3: Cut the pieces
Cut your dowels or moulding to the height of the base. Cut one piece first and test it against the table. If it fits well, use it as a template for the rest. Keep your cuts as even as possible, and sand the ends lightly. Work in batches and keep the pieces in order.
Step 4: Attach the fluting
Apply glue to the back of one piece and press it firmly against the base, lining it up with your starting mark. Hold it for a few seconds, then add the next piece snugly beside it. Continue around the table, checking regularly that the pieces stay vertical. If you are using a hot glue gun, work in small sections so the glue does not cool before you press the piece in place.
When you reach the end, you may need to trim the last piece to fit. Leave the table to dry fully, following the glue instructions, before moving on.
Step 5: Fill, sand, and prime
Once the glue is dry, check for gaps. Fill small gaps with wood filler, let it dry, and sand smooth with 220-grit sandpaper. Wipe away dust with a damp cloth. Apply one coat of primer and let it dry. Primer helps the paint stick evenly and gives a more professional finish.
Step 6: Paint or stain
Paint the table in thin, even coats. Two coats are usually better than one thick coat. Let each coat dry fully before adding the next. For a classic look, choose warm white, soft beige, or muted green. For a bolder look, try deep green or charcoal. If you prefer a natural wood look, use stain and finish with clear varnish.
Finishing touches
- Let the table dry for at least 24 hours before using it.
- Add felt pads under the legs to protect your floor.
- Style it simply: a lamp, a book, and a small plant are enough.
- Keep heavy items off the table for the first few days while the finish hardens.
Frequently asked questions
How much does this project cost?
The cost depends on your base and materials. Using a second-hand table and affordable dowels keeps the cost low. Paint, glue, and sandpaper are usually the main expenses. Start with what you have, and buy only what you need.
Do I need power tools?
No. You can cut dowels with a small hand saw, and you can sand by hand. Power tools can speed up the work, but they are not essential for this project. Choose the tools you feel comfortable using.
How long does it take?
Most people finish the building in a few hours, plus drying time for glue, filler, primer, and paint. Plan for a weekend, so you can work calmly and let each layer dry fully.
What if my fluting is not perfectly even?
Small differences are normal in handmade projects, and they add character. If a piece is clearly out of line, remove it carefully before the glue sets fully, or sand the edge and adjust it. Step back often to check the overall look.
Quick tip: paint the base before you add the fluting. It is much easier than painting between the dowels afterwards.